- Call us 01444 237070

-
- Back
- Used Cameras
- Used Accessories
- Used Lenses
- Back
- Used Canon Lenses
- Used Nikon Lenses
- Used Fujifilm Lenses
- Used Sony Lenses
- Used Micro 4/3rds Lenses
- Used Leica Lenses
- Used Panasonic Lenses
- Used Pentax Lenses
- Used Samyang Lenses
- Used Sigma Lenses
- Used Tamron Lenses
- Used Tokina Lenses
- Used Voigtlander Lenses
- Used Zeiss Lenses
- Used Hasselblad Lenses
- Used Video
- Used Film Equipment
- Used Stock Alert
- Used Blank Test
- Sell or Part Exchange
- Used Clearance
- Recently Added Used Equipment
- Park Picks
- Faulty
- Trade-In
- Blog
- New in
- Call us
- Contact us
- Stores
- Sign in
- Categories
- Tips & Inspiration
- Reviews
- News
- Events
- Features
- Buying Guides
- Competitions
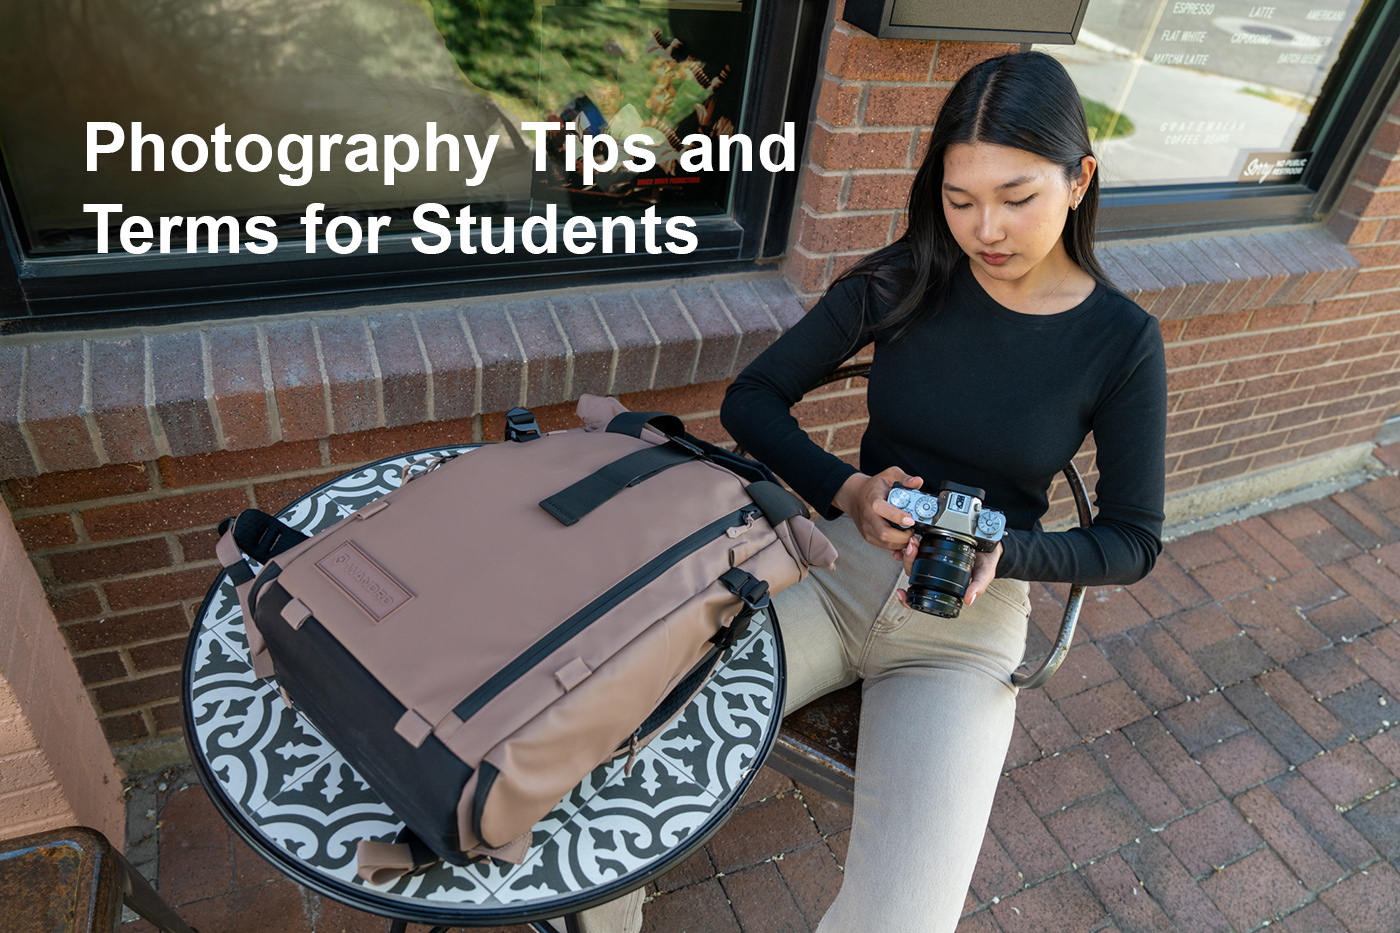
Photography Tips and Terms for Students
Starting photography as a student is exciting, but it can also be confusing. Aperture, shutter speed, ISO, and exposure are just some of the terms banded about, which make it easy to feel lost when you’re a beginner. That’s why we’ve created this step by step guide, which is packed with tips and tricks to help you understand how a camera works, and how to take better photos.
This is one of our student-focused articles, which cover the essentials of photography and content creation, explaining some of the common jargon that you come across all of the time. If you’re just getting into cameras you might also want to check out our student guide to camera equipment, which covers the different types of cameras, sensors, and lens terms in photography.
In this guide we focus on how photography works so you’ll get an understanding of the key ingredients, including aperture and shutter speed so you can improve your skills more quickly.
So let’s begin with the first feature you’ll need to understand…
Understanding the Aperture Scale
Aperture is one of the first things to get to grips with when learning how to use a camera. It refers to the opening inside the lens that controls how much light reaches the sensor, or film if you’re shooting analogue. You’ll see aperture shown as f-numbers (like f/2.8, f/5.6, f/11), and while it might seem backwards at first, the smaller the f-number, the wider the aperture.
A wide aperture like f/1.8 lets in more light and creates a shallow depth of field, which means only a small part of the image is in focus, which is ideal for portraits with a blurry background to draw attention to the subject. A narrow aperture like f/16 lets in less light and gives you more depth of field, keeping more of the scene in focus, which is more useful for landscapes and that type of subject.
You don’t need to memorise the aperture scale straight away, but it helps to know that each step (f/2.8 to f/4, or f/8 to f/11) lets in half as much light as the one before it. Once you’ve got the hang of that, you’ll start to see how aperture affects both brightness and focus in your photos.
Next, we’ll look at how shutter speed works with aperture to control exposure and motion.

What Is Shutter Speed?
Shutter speed controls how long your camera’s shutter stays open when you take a photo. A fast shutter speed (like 1/1000s) freezes action, which is great for sports, wildlife or any fast moving action. A slower shutter speed (like 1/30s or even 1 second) lets in more light, but can blur movement. Slow shutter speeds can be used creatively, or you can avoid it by shooting from a tripod.
You’ll usually see shutter speeds shown in fractions of a second, such as 1/200, 1/60, 1/4, or in whole seconds when you get into long exposures. Just like aperture, each step doubles or halves the amount of light coming in, so 1/125s lets in twice as much light as 1/250s for example.
For handheld shooting try to keep your shutter speed equal to or even a bit faster than your focal length. For example, use 1/50s or a little faster with a 50mm lens to avoid any camera shake. In-body image stabilisation can help reduce shake, but it’s still good practice to be aware of your shutter speed, especially if using a high resolution digital camera.
Examples of using shutter speed creatively include when you want to freeze a splash of water, or if you want to show movement in waterfalls or light trails at night, then shoot much slower from a tripod.
It’s worth experimenting with shutter speed to see how it affects different subjects, so try a few speeds out for each shot until you discover the speeds, which you most like for a given situation.
Now that we’ve covered aperture and shutter speed, let’s look at some other photography terms that are useful to understand when starting out.
Photography Terms You Hear All the Time
Once you start learning photography, you’ll quickly notice there’s a lot of terminology, and while some of it is useful, some may be confusing at first. You don’t need to memorise every technical term straight away, but it can really help to get familiar with the ones you hear most often in college, on YouTube, or when chatting with other hobbyists.
Here are a few of the most common photography terms:
- ISO. This controls how sensitive your camera is to light. Lower numbers (like ISO 100) are ideal for bright conditions, while higher numbers (ISO 1600 or above) help in low light but can add grain or ‘noise’ to the image.
- Exposure. The overall brightness of your image is referred to as exposure, and it is controlled by the combination of aperture, shutter speed and ISO.
- White Balance. White balance adjusts the colour temperature of your photos, so whites look white and colours appear natural. Many photographers will use ‘Auto white balance’ much of the time, which leaves it to the camera to decide. If you shoot RAW images (see next term), then you can easily change this afterwards.
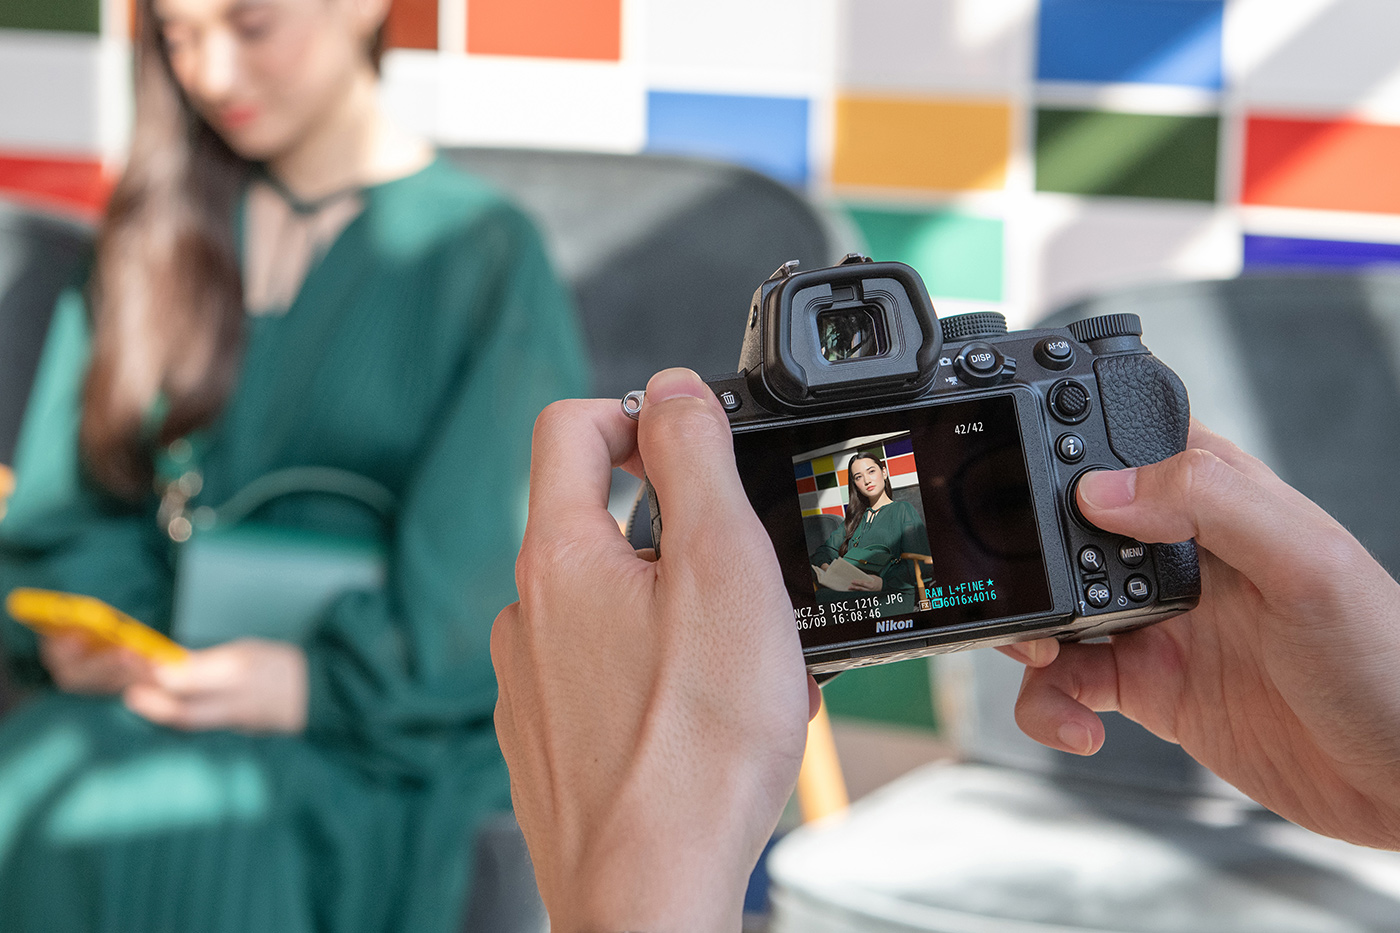
- RAW. This is a file format that keeps all the image data from your sensor, which provides more flexibility when editing compared to JPEGs. You can edit RAW images without ever damaging the file or permanently changing anything, which is different from JPEGs and other image formats.
- Focal Length. This is measured in millimetres (e.g. 50mm), and refers to how wide or zoomed in a lens is. A zoom lens shows two focal lengths, such as 24-70mm, which means it can zoom from a wider view (24mm) to a more close-up view (70mm), in one lens.
- Depth of Field. This explains how much of the image is in focus from front to back, and is affected mainly by your aperture setting. A very shallow depth of field means only a small part of your subject is in focus, like just the person’s eye in a portrait, while the rest is blurred. A deeper depth of field keeps more of the scene sharp, which might be everything from the front to the back of a landscape.
There are lots more terms worth knowing as you progress, and we’ve covered a more comprehensive list in our Photography Terms Explained guide if you want to dive deeper. In the meantime let’s look at some of the basics you need to know when starting out on your photography journey.
Simple Tips for Students Getting Started in Photography
Once you understand the basics of how your camera works, the next step is to get out and start using it! The best way to improve is with practice, not by owning the most expensive gear. Here are five tips to help build confidence and start enjoying photography from day one:
- Stick to one mode at first. Try shooting in Aperture Priority (A or Av mode) or Shutter Priority (S or Tv) to get a feel for exposure without going full manual straight away.
- Use natural light. Head outdoors or shoot near windows. Light changes everything, and learning to spot good lighting is one of the biggest improvements you can make early on.
- Limit your gear. Don’t bring everything, as most of the time all you need to improve is one camera, a prime and/or zoom lens. With fewer choices you can think more about the composition and how to highlight your subject.
- Shoot regularly. Even 10 minutes a day helps you develop quickly. Take photos on your walk to college or during breaks, as the more you shoot, the faster you’ll improve.
- Review your photos. Look back and ask what you like or don’t like about pictures you’ve taken, which helps you spot patterns and improve over time.
For more tips on building your skills and avoiding common beginner mistakes, check out our Best Photography Tips for Beginners article, which goes into more detail.
Learning photography as a student doesn’t have to feel complicated. With a bit of time and regular practice you’ll start to understand how aperture, shutter speed and ISO work together, which will lead to taking photos that you’re proud of.
When you’re ready to pick up your first camera or lens, our used photography equipment section is packed with budget-friendly options, which have all been checked and tested by our specialist team. Whether shooting for a college project or just for fun, you’ll find the right gear to get started, and grow your skills from there.
Share this post:
By Nick Dautlich on 11/08/2025
Nick Dautlich
Senior Content Writer and Product Reviewer
Nick Dautlich is the Senior Content Writer and Product Reviewer at Park Cameras, with over 15 years of photography experience. A Sony Imaging Professional and expert reviewer, Nick has worked with major brands such as Canon, Sony and Nikon. His work is also featured on Vanguard World UK’s website, Capture Landscapes, and Shutter Evolve. Nick’s photography includes National Trust projects and magazine covers and he is passionate about landscapes and storytelling. Nick also enjoys hiking and teaching his children about nature. Learn more on his profile page.

Trade in your old equipment
Fast and easy trade in service ensures your old gear is collected efficiently and you are paid quickly! It's very simple to trade in your unwanted photography gear. Just head over to our dedicated Sell or Part Exchange page, fill out the details, and we'll get back to you with an offer for your old gear. Take the cash, or put it towards the cost of your new gear. It's up to you! Find out more
sign up to the newsletter
Keep up to date on the latest photography news, events and offers. Sign up now