- Call us 01444 237070

-
- Back
- Used Cameras
- Used Accessories
- Used Lenses
- Back
- Used Canon Lenses
- Used Nikon Lenses
- Used Fujifilm Lenses
- Used Sony Lenses
- Used Micro 4/3rds Lenses
- Used Leica Lenses
- Used Panasonic Lenses
- Used Pentax Lenses
- Used Samyang Lenses
- Used Sigma Lenses
- Used Tamron Lenses
- Used Tokina Lenses
- Used Voigtlander Lenses
- Used Zeiss Lenses
- Used Hasselblad Lenses
- Used Video
- Used Film Equipment
- Used Stock Alert
- Used Blank Test
- Sell or Part Exchange
- Used Clearance
- Recently Added Used Equipment
- Park Picks
- Faulty
- Trade-In
- Blog
- New in
- Call us
- Contact us
- Stores
- Sign in
Call us: 01444 237070
Search terms
Brands
Category
Products
[[{name}]]
[[{attributes.Price}]]
- Categories
- Tips & Inspiration
- Reviews
- News
- Events
- Features
- Buying Guides
- Competitions
Is the Sony FE 200–600mm G OSS Still Worth Buying
I’ve enjoyed shooting with an FE 100-400mm for many years, but I always secretly lusted after a little more reach. After all, every mm counts… for wildlife!
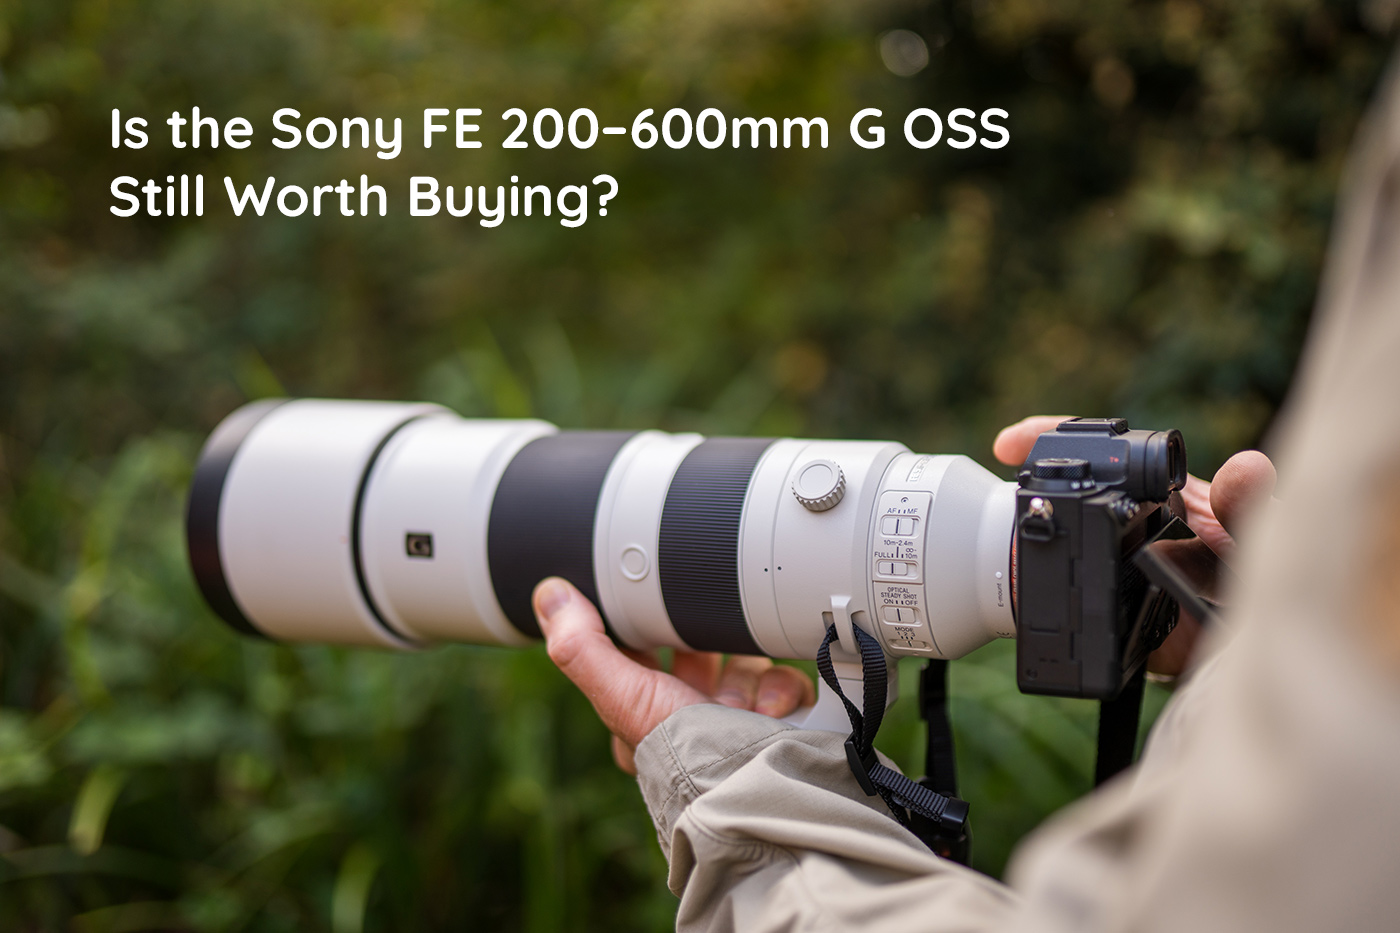
So I was thrilled when, while exploring whether a second-hand Sony A9 II was still worth buying for birds and wildlife, I got the chance to finally try a Sony FE 200-600mm G OSS lens.
I also tested it with my own A7R V, to see how it compares when shooting with more modern AI-driven AF.
Released back in 2019 (same as the A9 II), the 200-600mm was the brand’s first affordable super telephoto zoom, and in many ways it still is, despite being overshadowed by a slew of newer E-mount options. It’s also a relative bargain second hand, largely because of these new alternatives.
With that in mind, join us as we explore everything from handling to focusing, tracking to image quality, so you can decide whether this older model is still worth considering for your wildlife kit.
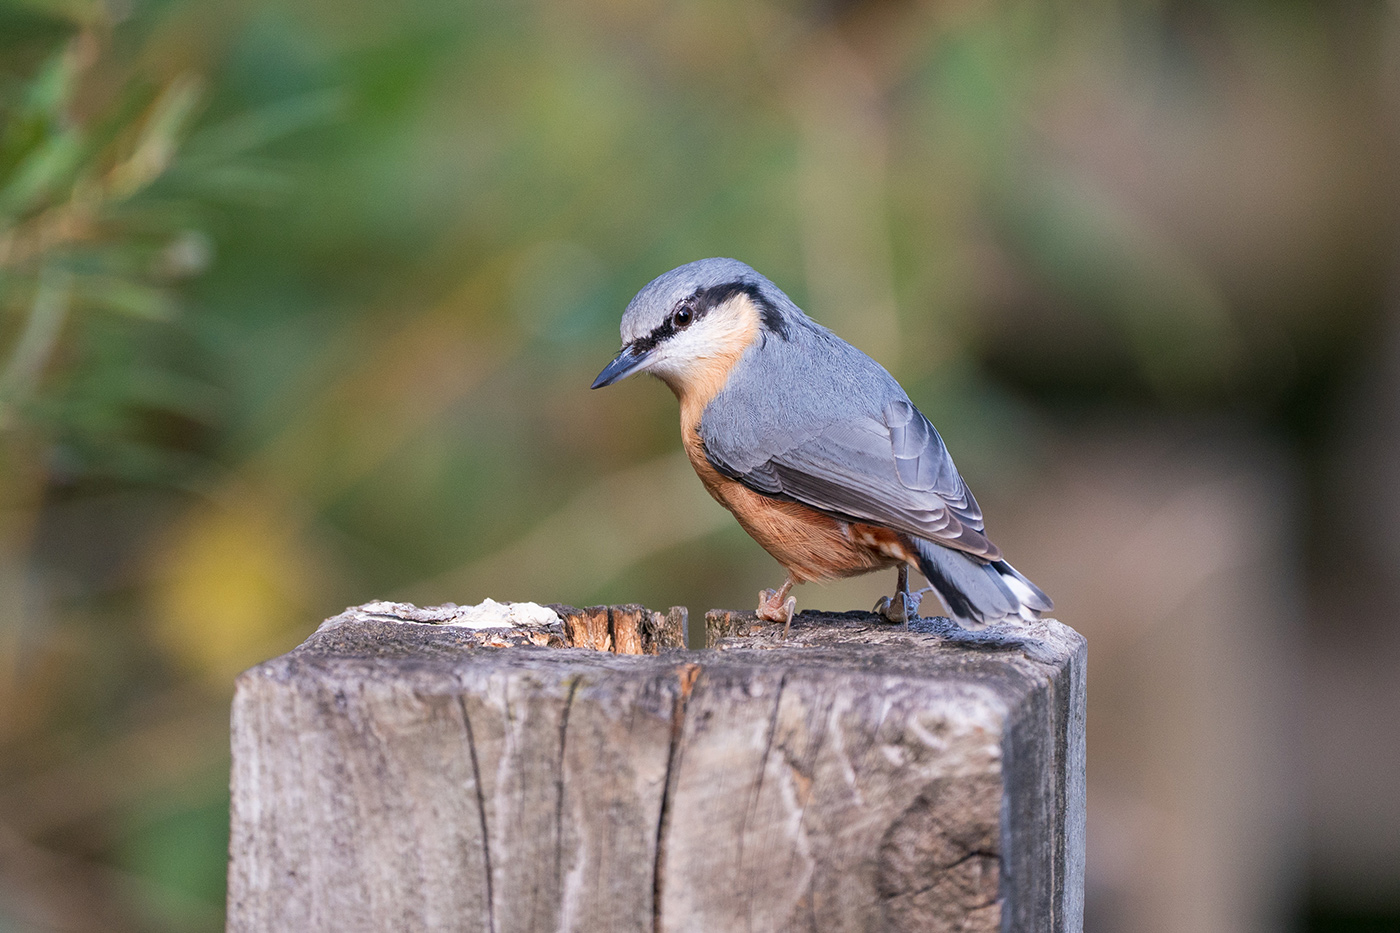
Sample 01 Nuthatch on a post at 600mm with A9 II. Settings: 1/500 sec. f/6.3. ISO 1250
About This Review and Sample Images
I was fortunate to get four mornings by local lakes and woodland to work on this review, three with the A9 II and one with the A7R V – which was a very misty morning. Many shots were made at the longer end of the zoom, which cemented the notion that extra reach can be particularly useful for small and distant subjects.
I captured geese, coots, ducks and other birds amid spectacular autumn colour, aiming for a balance of action and artistry, although there is always room for improvement. That’s why we love photography right, because we’re always learning!
Processing is minimal, with no specific AI noise reduction or extensive editing, keeping the files close to how they came from the two cameras. All of these are different from the A9 review, so check them out if you want to see more samples. If you’re interested in the settings used, you can also find them in the A9 II article.
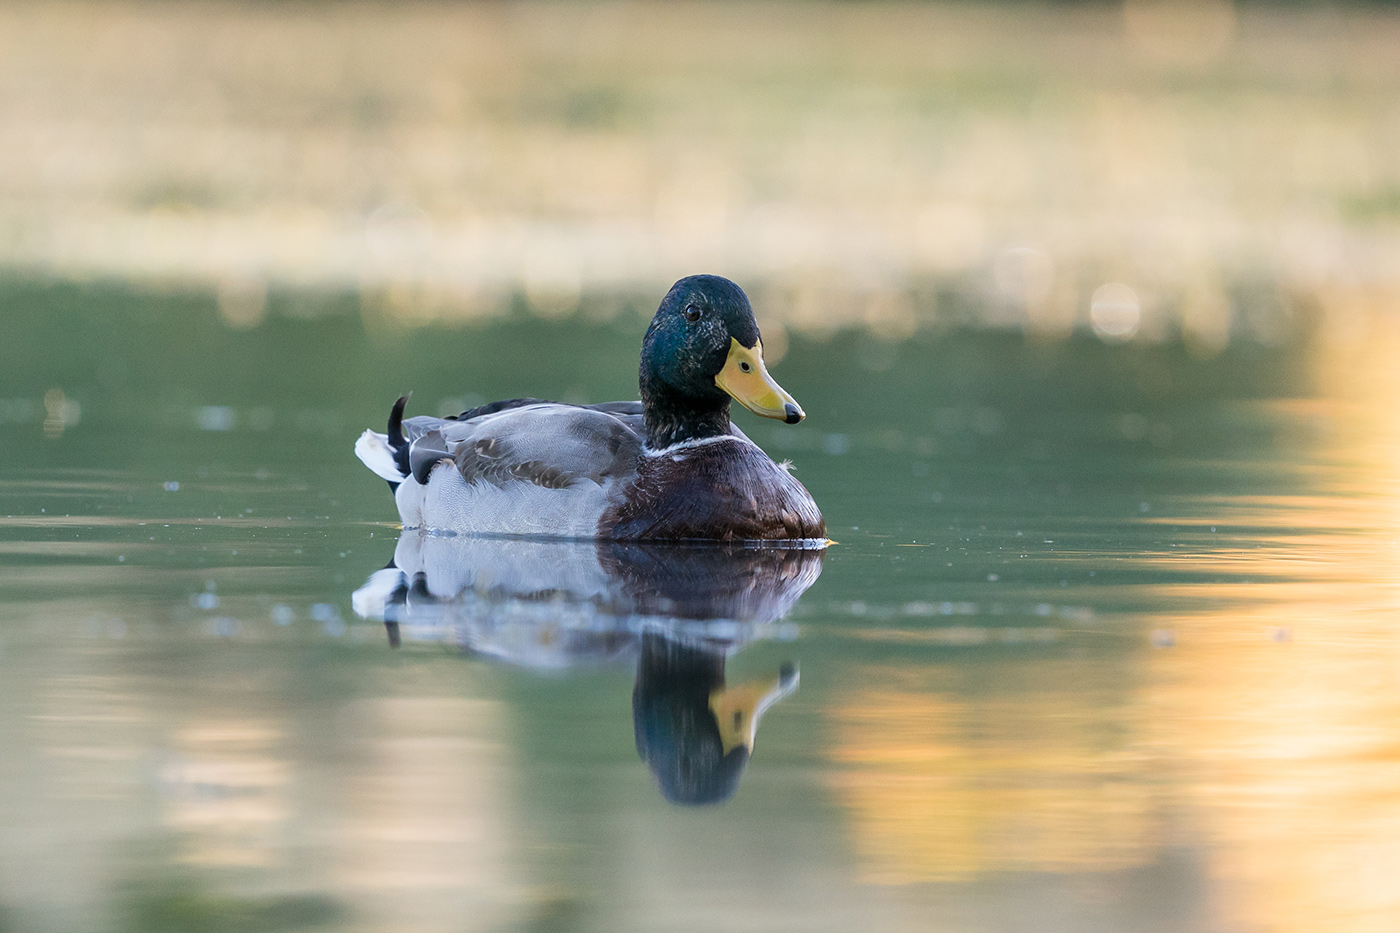
Sample 02 Mallard drake with reflection at 456mm with A9 II. Settings: 1/1000 sec. f/6.3. ISO 3200
How is Handling?
There’s no hiding the fact that at 2115 g this is a hefty lens, with an equally large hood. Even so, I was pleasantly surprised at how well it handled in the field. I expected it to be cumbersome, but it proved easy to manipulate and well balanced, allowing me to stay agile and responsive.
The internal zoom is a major bonus, as weight stays balanced at any focal length, unlike on my 100-400mm GM. It’s not at all front heavy and felt good on both camera bodies, which offer similar handling, grips and size.
There are two strap lugs, so you can attach the supplied, relatively narrow neck strap directly to the barrel, placing weight on the solid lens rather than straining the camera mount. If I were buying this for myself, I’d invest in a more comfortable strap (like the Peak Design Slide or BlackRapid Sport-X) and an Arca-type foot. The standard foot is easy to hold when walking around, but I prefer a single Arca-compatible foot to adding an additional tripod plate.
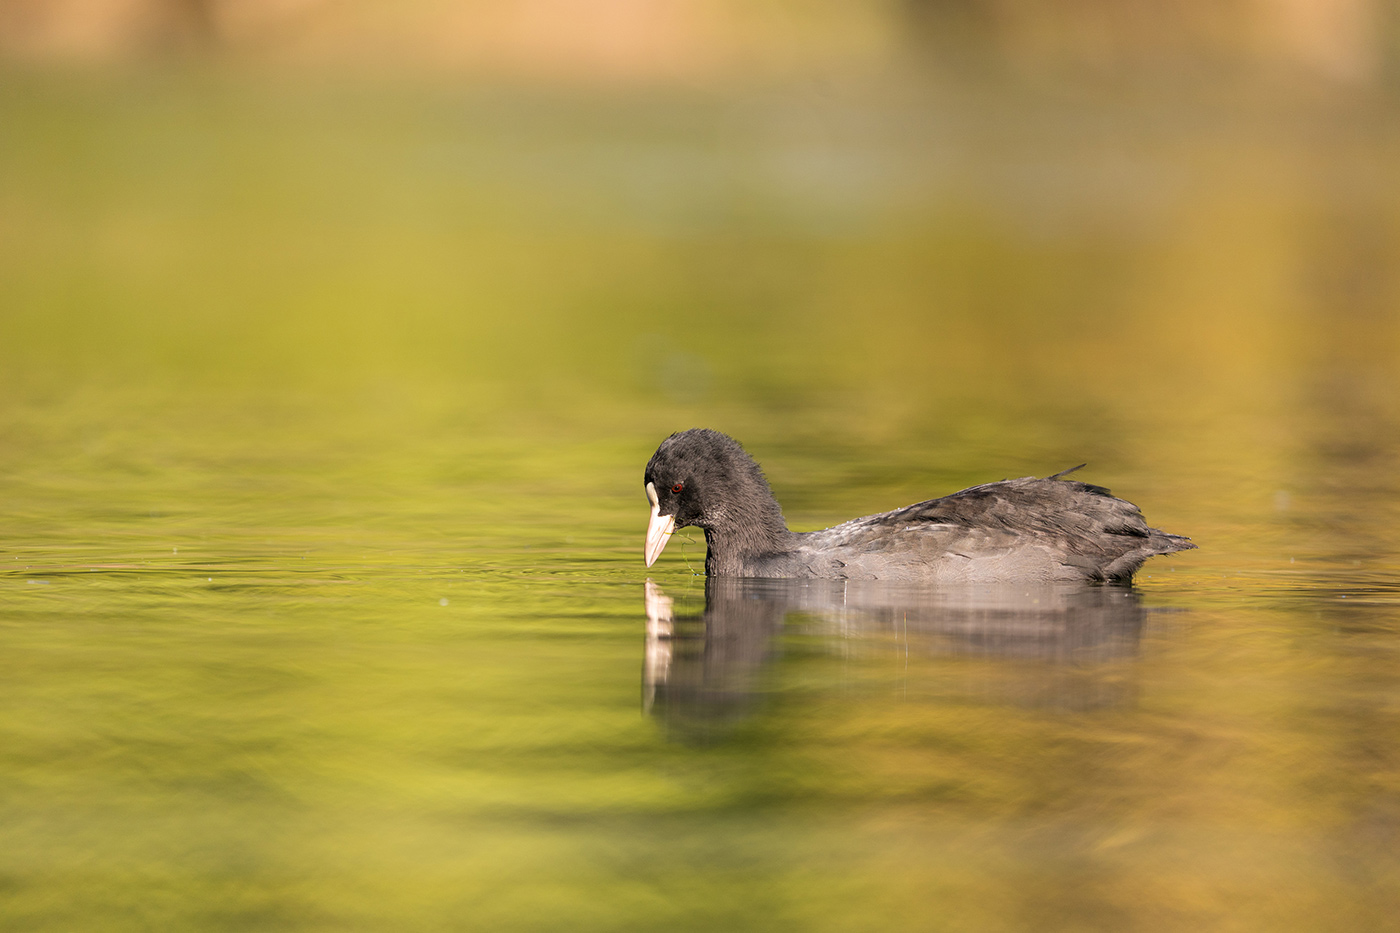
Sample 03 Coot with golden reflections at 600mm with A9 II. Settings: 1/1000 sec. f/6.3. ISO 640
The short zoom-ring rotation also helps, making it easier to move from near to far and track subjects as they approach or retreat. Some other manufacturers use a zoom clutch mechanism to address the issue, whereas this is simply quick to zoom.
I used the focus range limiter on a number of occasions to stop the AF hunting across the entire range. With three settings covering the full range, 10m–∞ and 2.4–10m, focus acquisition is definitely faster when a subject stays a fairly constant distance away.
The OSS options were handy too. I switched mainly between standard and tracking stabilisation for birds in flight. There’s a third setting for unpredictable movement with more stable viewfinder framing, but I didn’t use it.
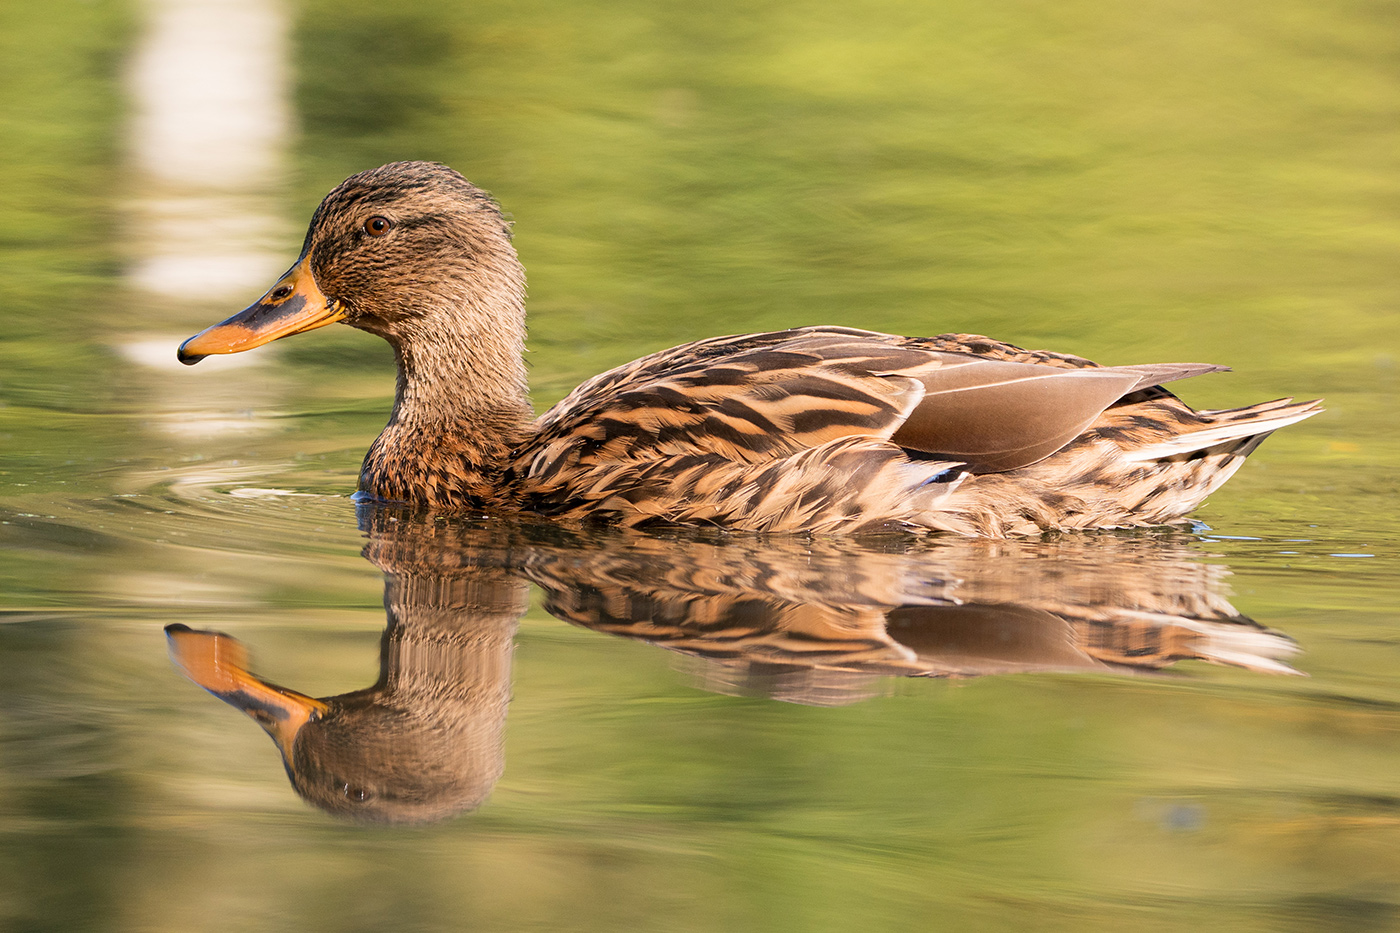
Sample 04 Female mallard with reflections at 318mm with A9 II. Settings: 1/1000 sec. f/6.3. ISO 1000
The customisable focus hold buttons would no doubt be useful for assigning functions such as subject recognition, eye selection or other frequently used AF settings. However, I’m quite lazy when it comes to programming these, so I didn’t change them.
Luckily, I have a decent-sized camera backpack with a customisable interior that accommodates this rather long setup. You’ll definitely need a large bag, so it’s worth factoring into the cost.
All in all, I was really happy with handling, so don’t let the specs sheet put you off.
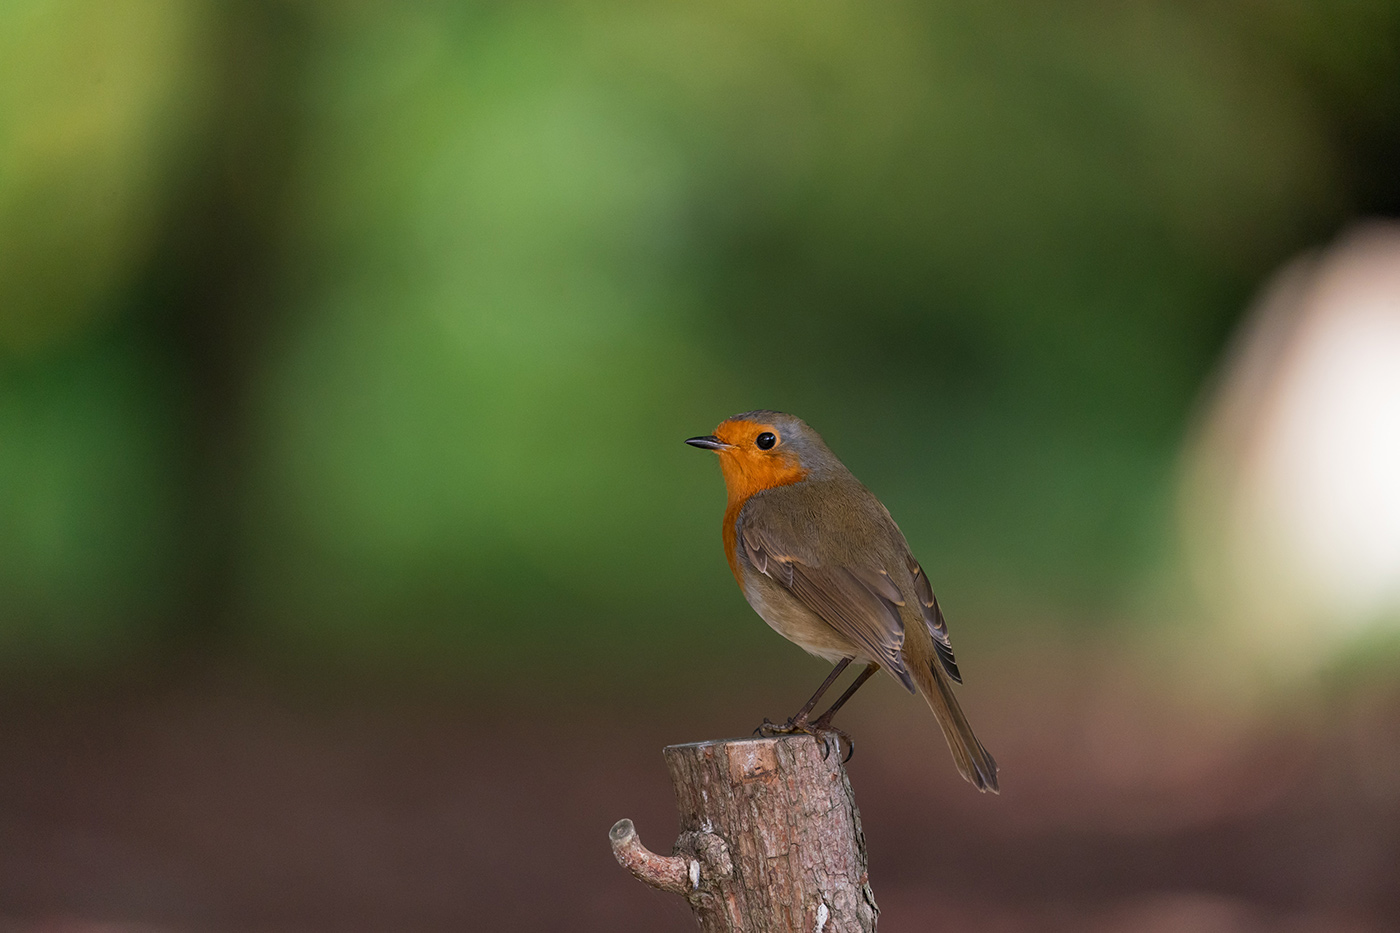
Sample 05 Robin on wooden post at 600mm with A9 II. Settings: 1/1000 sec. f/6.3. ISO 2500
Reach, Versatility and Value
This zoom range is extremely versatile and really useful for capturing the types of subjects showcased here. Looking at my own photographs, I was at 600mm for half of these selected images, especially for small woodland birds and gulls in flight.
When a flock of geese arrived, I could fit much more in the frame at 200mm and still capture the action. Having that flexibility is really valuable if your subjects are found at varying distances. Sony’s newer primes, which we compared here, trade that versatility for weight savings and image quality.
In terms of value, a second-hand FE 200-600mm F5.6-6.3 G OSS lens starts at around £1100, which is incredibly good for what you get, so let’s break image quality down now.
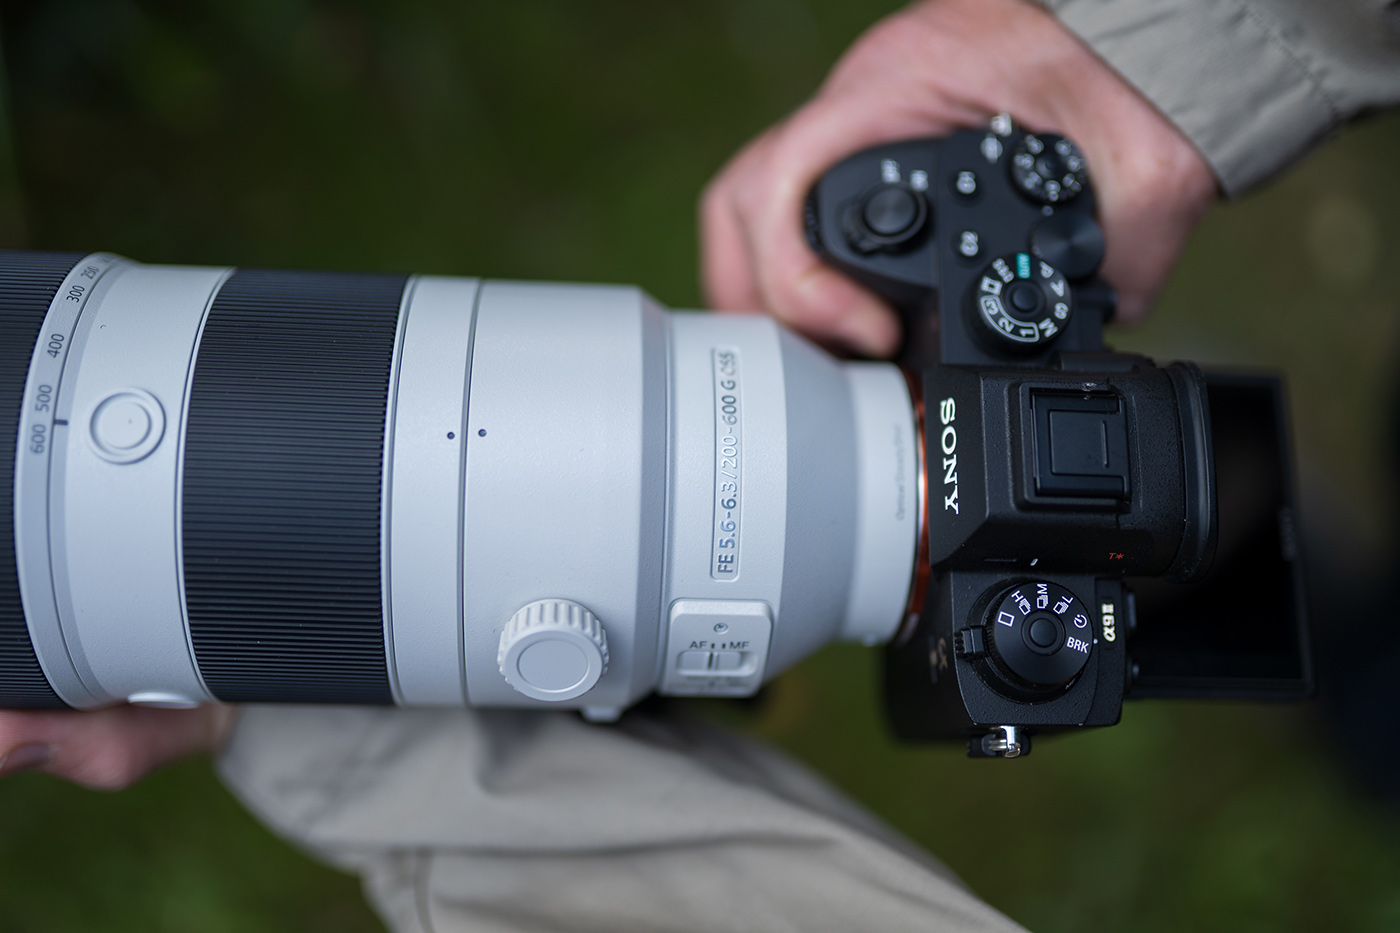
Image quality
How Sharp Is it?
Having shot 1000s of samples and pixel-peeped a select few where focus was perfect, I can confidently say this is as sharp as it needs to be for wildlife. That’s true for both the 24MP and 60MP sensors, although stopping down to F7.1 did draw out a little more detail with the A7R V.
I was very happy shooting wide open at all focal lengths on the A9 II, and the lens resolves fine detail consistently well on both cameras throughout the range.
Micro contrast is perhaps lacking ever so slightly at the longest end, but for almost any application I’d happily recommend this zoom in terms of sharpness. If you have more available light, stopping down to F8 wouldn’t hurt and would also give deeper depth of field.
I did note that the extra cropping room from the A7R V wasn’t a major advantage here, but if your subject is especially small, the higher-resolution sensor can unquestionably render more detail. Fortunately nothing was too far away, except for an elusive kingfisher which I totally failed to capture. Better luck next time!
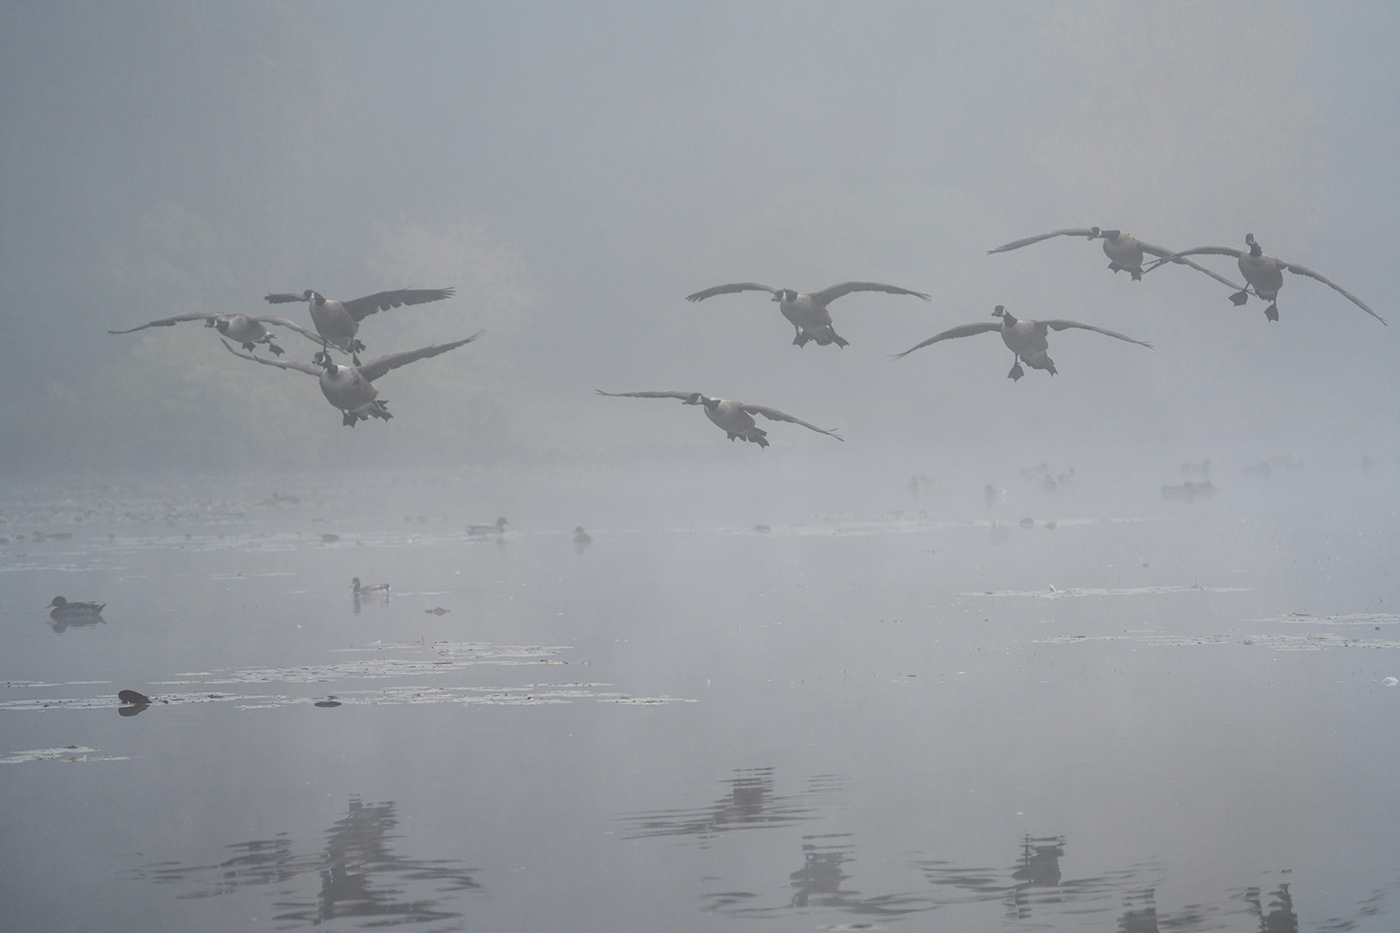
Sample 06 Geese flying through mist at 200mm with A7R V. Settings: 1/1000 sec. f/7.1. ISO 800
Background Rendering and Bokeh
The ability to reduce your background to buttery colour is typically an advantage for bird and wildlife subjects. The F6.3 aperture is where you’ll spend most of your time, as the lens switches from F5.6 already at 300mm.
That’s no problem when you have some separation between subject and background, or a bit of mist, as it allows you to make the subject stand out strongly. Many of the samples here show great subject separation, and I like the way the lens renders in-to-out-of-focus areas with smooth transitions. There were occasional distracting backgrounds, but that more often came down to my positioning than the rendering.
Colour, Contrast and Optical Quality
I’m used to Sony colour rendering and was really happy with the saturation, gradations and overall image quality I could achieve. There was very little colour fringing, even in high-contrast situations, and colours were rendered neutrally, although I sometimes noticed the slightly off colour cast I’m accustomed to from my A7R V.
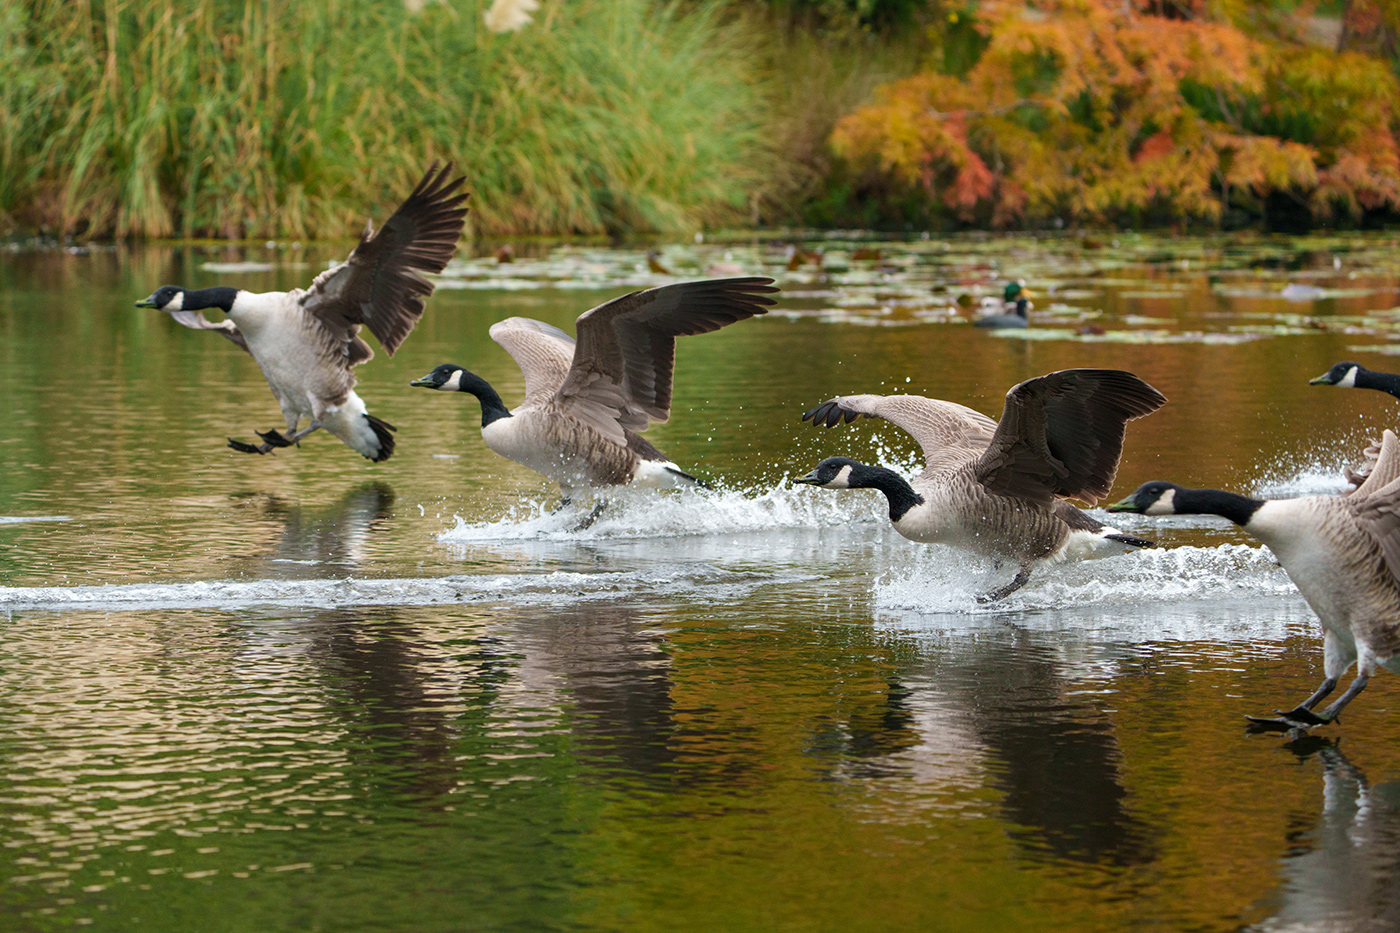
Sample 07 Geese coming in to land @ 200mm with A7R V. Settings: 1/1000 sec. f/7.1. ISO 800
A9 II vs A7R V for Wildlife Photography
The FE 200–600mm G OSS performed quite differently on the two bodies. The A9 II excels in speed, with blackout-free tracking and 20 fps bursts thanks to its stacked sensor. The A7R V has a dedicated AI processing unit for smarter subject recognition, but suffers from slower sensor readout and a slower 10 fps burst rate.
The A7R V’s AI processing unit excels at recognising animal and bird eyes and bodies, even against complex or cluttered backgrounds. However, fast-moving birds can highlight the rolling shutter drawback. I had no issues, but I wasn’t especially taxing the sensor speed. Initial subject acquisition was noticeably better, which made finding and focusing on birds easier.
The A9 II’s high-speed stacked BSI sensor has much quicker readout and delivers blackout-free shooting. Tracking calculations are faster and it felt more fluid with high-speed movement, but it wasn’t as good at initial acquisition.
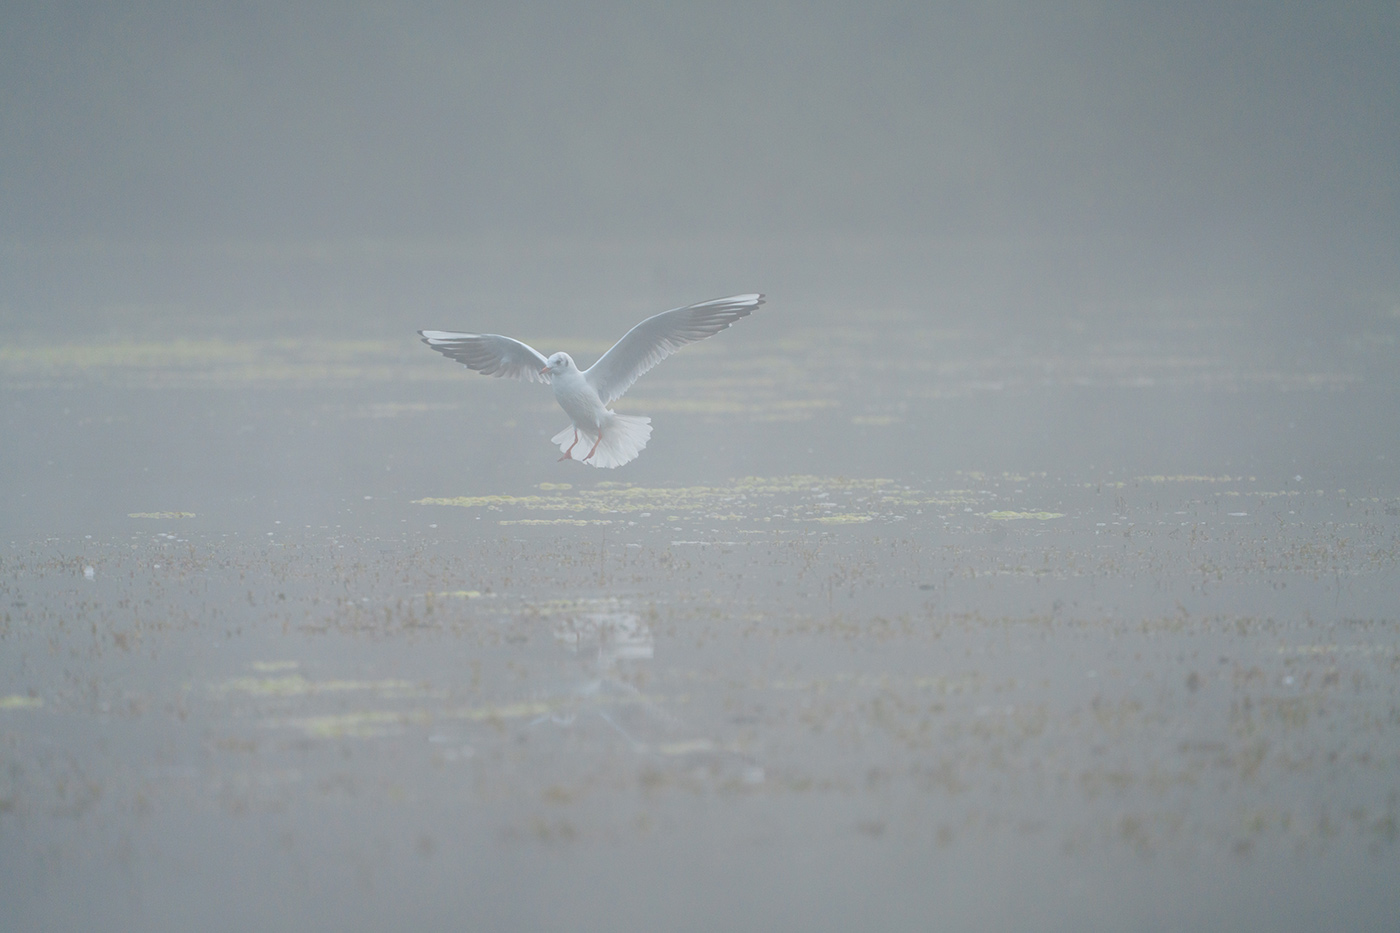
Sample 08 Gull landing in mist at 600mm with A7R V. Settings: 1/1000 sec. f/6.3. ISO 800
The 61MP resolution allows heavy cropping, bringing distant subjects closer without losing much detail. The lower resolution leaves less room to crop, so you need to get closer or rely more on optical reach. That said, as mentioned earlier, I didn’t especially miss the ability to crop in any of these shots.
I expected the older DDSSM autofocus system to let me down, but I was again proven wrong, especially when using the focus range limiter. In all but a handful of instances, it kept up with both cameras without hesitation, even when tracking birds in flight.
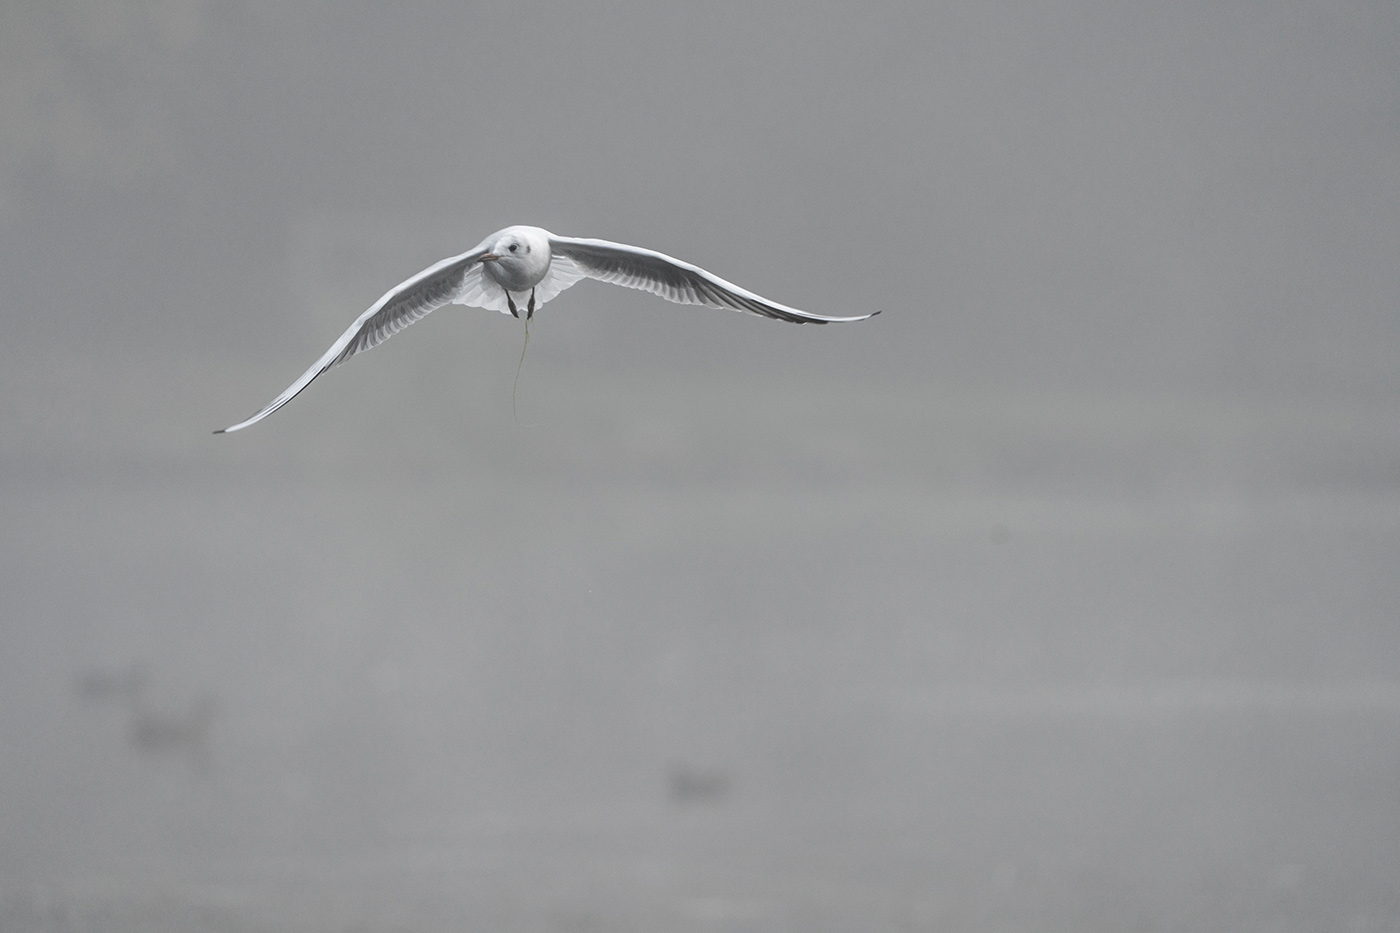
Sample 09 Gull flying head-on through mist at 411mm with A7R V. Settings: 1/1000 sec. f/6.3. ISO 800
Is F6.3 Fast Enough for Wildlife?
Yes, but it helps to have good light :-)
In all seriousness, F6.3 is perfectly serviceable, especially with modern noise reduction in post. Even at ISO 3200 with no additional noise reduction applied, I found the samples here to be just fine.
You may encounter issues in very low light, as freezing very fast action at 1/2000 sec. and beyond requires brighter conditions or higher ISO settings. That said, during these outings I achieved good results at 1/1000 sec. In darker woodland, noise became more apparent and you may struggle to raise shadows without noise reduction.
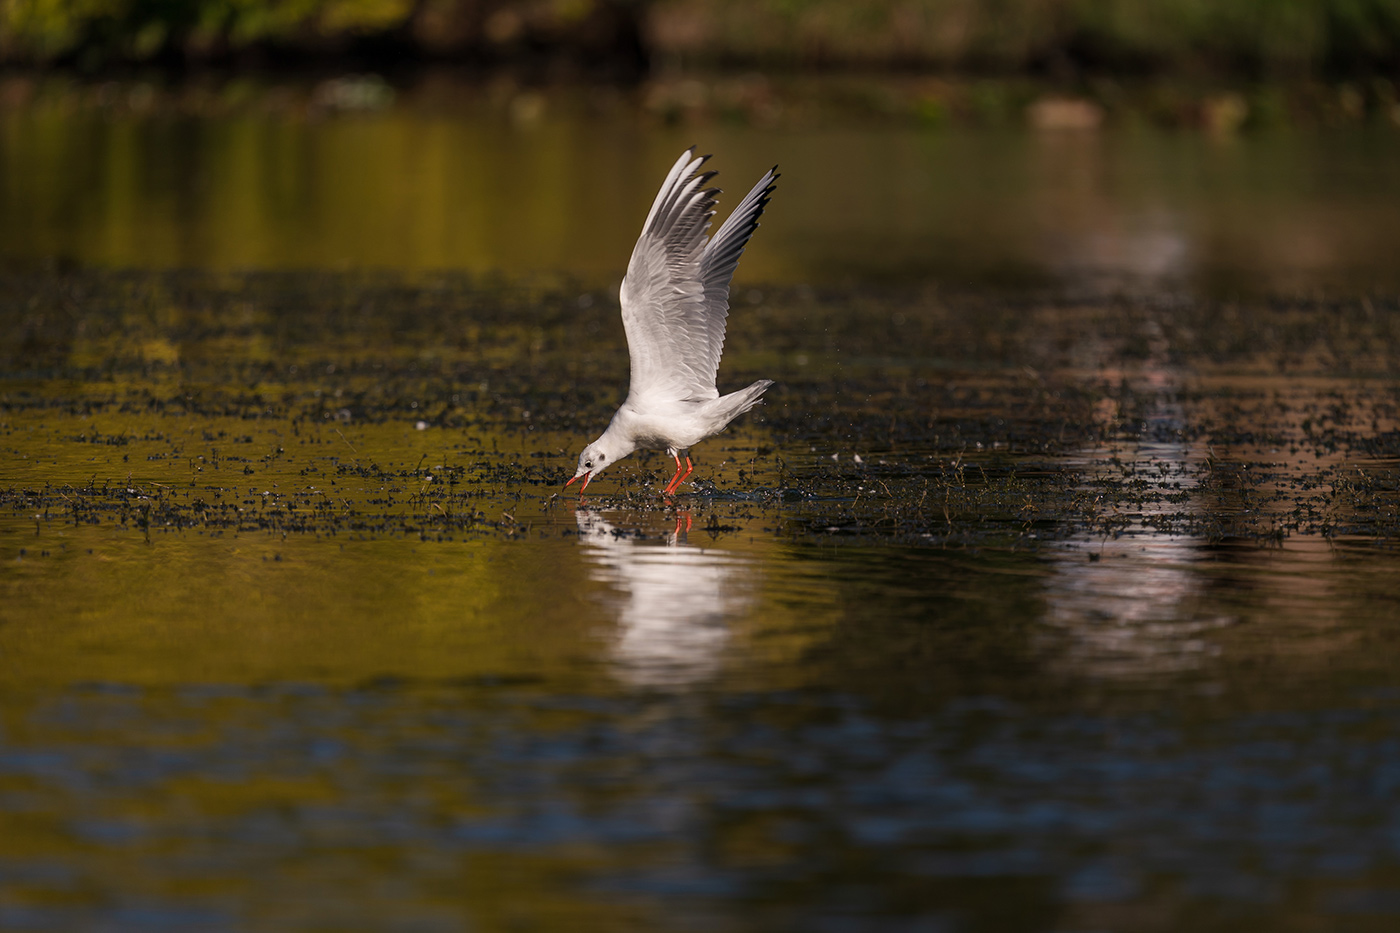
Sample 10 Gull feeding on the water at 600mm with A9 II. Settings: 1/1250 sec. f/6.3. ISO 160
This is extremely good value, especially compared to the newer 400mm F4.5 and 600mm F6.3 GM prime lenses, or even the newer 100–400mm F4.5 GM zoom. It’s accessible, versatile and offers great, if not the absolute best, image quality. Especially used. For these reasons, it remains a really viable option for long-range subjects.
Explore our range of used Sony lenses, including the FE 200–600mm G OSS, and see how much you could save compared to buying new. Don’t forget that you can also extend reach with a compatible teleconverter, although I didn’t have one to hand for this review.
Share this post:
By Nick Dautlich on 22/10/2026

Nick Dautlich
Senior Content Writer and Product Reviewer
Nick Dautlich is the Senior Content Writer and Product Reviewer at Park Cameras, with over 15 years of photography experience. A Sony Imaging Professional and expert reviewer, Nick has worked with major brands such as Canon, Sony and Nikon. His work is also featured on Vanguard World UK’s website, Capture Landscapes, and Shutter Evolve. Nick’s photography includes National Trust projects and magazine covers and he is passionate about landscapes and storytelling. Nick also enjoys hiking and teaching his children about nature. Learn more on his profile page.
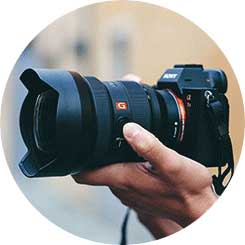
Trade in your old equipment
Fast and easy trade in service ensures your old gear is collected efficiently and you are paid quickly! It's very simple to trade in your unwanted photography gear. Just head over to our dedicated Sell or Part Exchange page, fill out the details, and we'll get back to you with an offer for your old gear. Take the cash, or put it towards the cost of your new gear. It's up to you! Find out more
sign up to the newsletter
Keep up to date on the latest photography news, events and offers. Sign up now